
Why Is My Sewing Machine Running Slow? Troubleshooting Tips
When your sewing machine goes from a powerful hum to a sluggish crawl, it’s almost never a catastrophic motor failure; it’s a call for maintenance. Slowness is a direct indicator of excessive friction within the machine’s mechanisms, forcing the motor to work harder and limiting its top speed (SPM).
This expert guide details the four main friction points you must check, starting with the simplest, to restore your machine’s full efficiency.
1. Bobbin & Hook Area (The Lint Blockade)
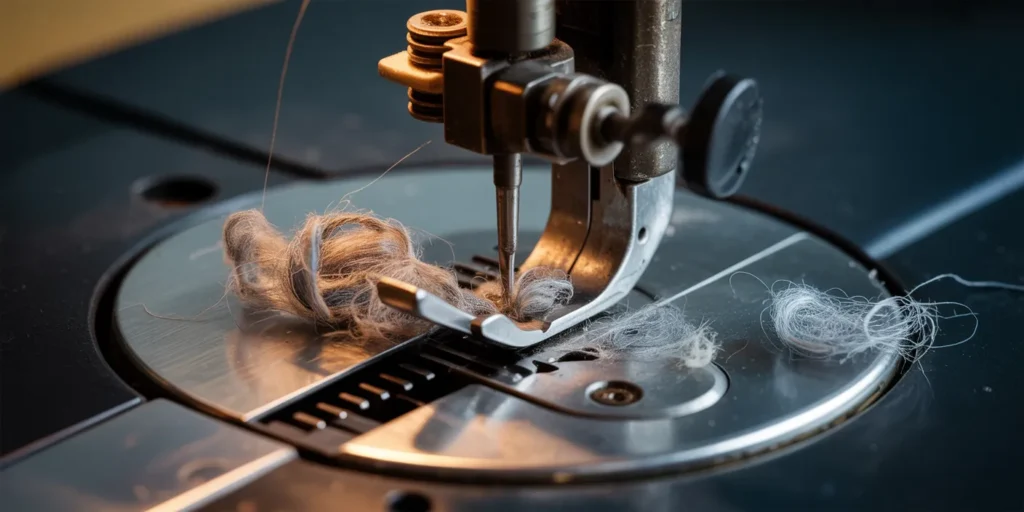
The bobbin race and shuttle hook area is the largest collector of lint, threads, and fabric fibers. This debris acts like a sticky brake, creating drag that slows the entire machine down.
Deep Cleaning for Maximum Speed
- Bobbin Race: Remove the needle plate and the bobbin case. Use a small, soft brush (never compressed air, which can blow lint deeper into the machine) to meticulously clear all lint, especially around the metal hook.
- Feed Dogs: Clean between the Feed Dogs (the teeth that move the fabric). Buildup here restricts the fabric movement, which the machine compensates for by slowing down.
Addressing lint accumulation is the first step in fixing common stitching problems on Singer sewing machines, as friction directly impacts tension.
2. Lack of Lubrication (The Oil Deficit)
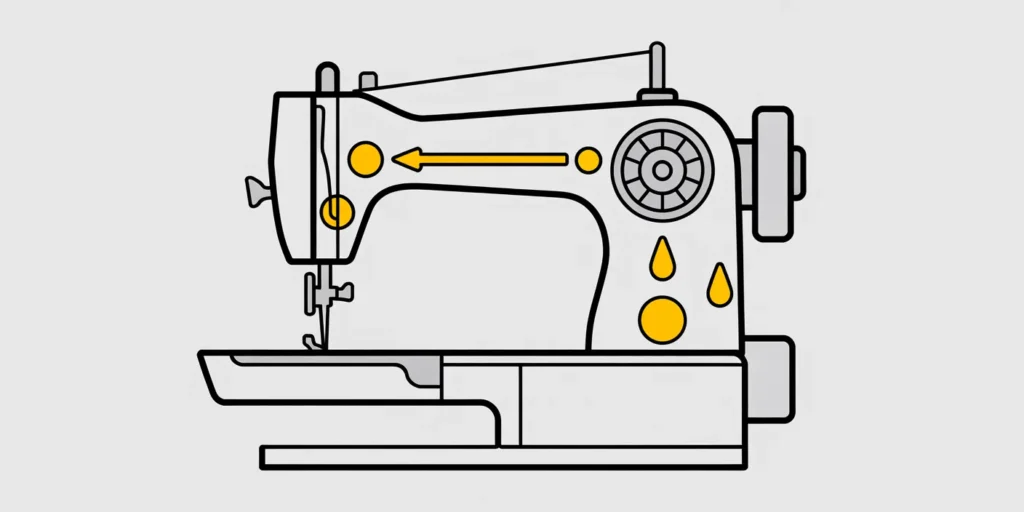
Metal components require lubrication to move freely. If your machine is slow but not clogged with lint, it is likely suffering from an oil deficit, causing metal-on-metal drag.
Oiling for Optimum Performance
- Rule of Thumb: Oil all designated friction points (marked in your manual) every 25 to 40 hours of sewing time, or anytime the machine sounds dry or sluggish.
- The Right Oil: Never use household oils (WD-40, cooking oil, etc.). Use only high-quality, clear, non-detergent sewing machine oil. Household oil quickly gums up and makes the problem worse.
For a visual, step-by-step guide on this critical maintenance task, refer to our guide on how to correctly oil your sewing machine.
3.Thread Tension and Needle Obstruction
Sometimes the friction is external, caused by the thread itself or the needle’s resistance against the fabric.
Thread Path & Tension Check
- Overtight Tension: If the thread tension is set too high (a high number on the dial), the thread becomes rigid, and the machine must physically pull the thread through the tight discs, slowing the motor down. Lower the tension slightly to see if the speed improves.
- Thread Jams: Check the entire thread path, from the spool pin to the take-up lever, for snagged threads or a poorly wound bobbin. This external drag mimics internal friction.
Dull or Bent Needles
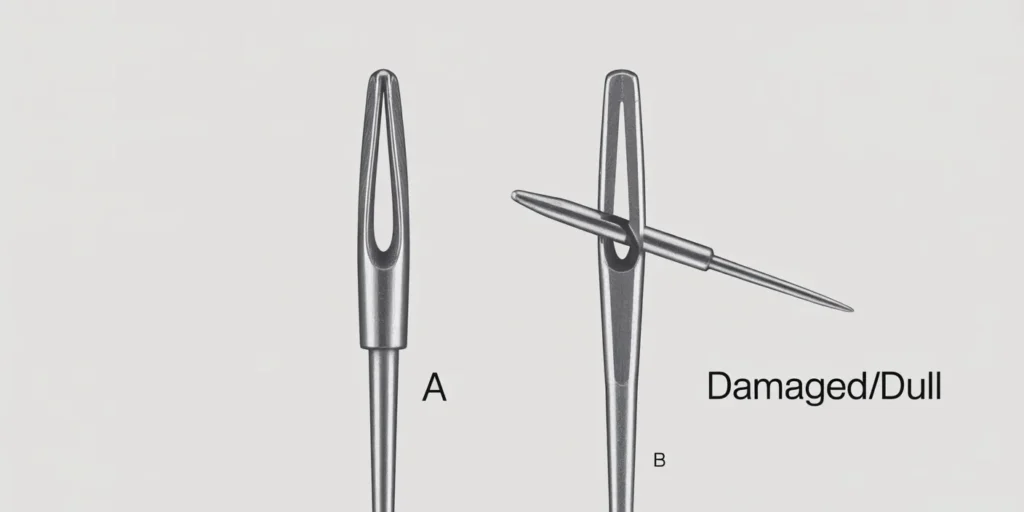
A needle that is bent, dull, or too fine for the fabric requires more force to penetrate the material.
- Action: Immediately replace the needle. A dull needle is the simplest and cheapest fix for sudden sluggishness.
- Correct Sizing: If you are sewing heavy canvas or denim, ensure you are using a thick 90/14 or 100/16 needle. Using a small needle on thick fabric creates extreme resistance, slowing the machine down dramatically.
4. When to Suspect Worn Parts (Advanced Check)
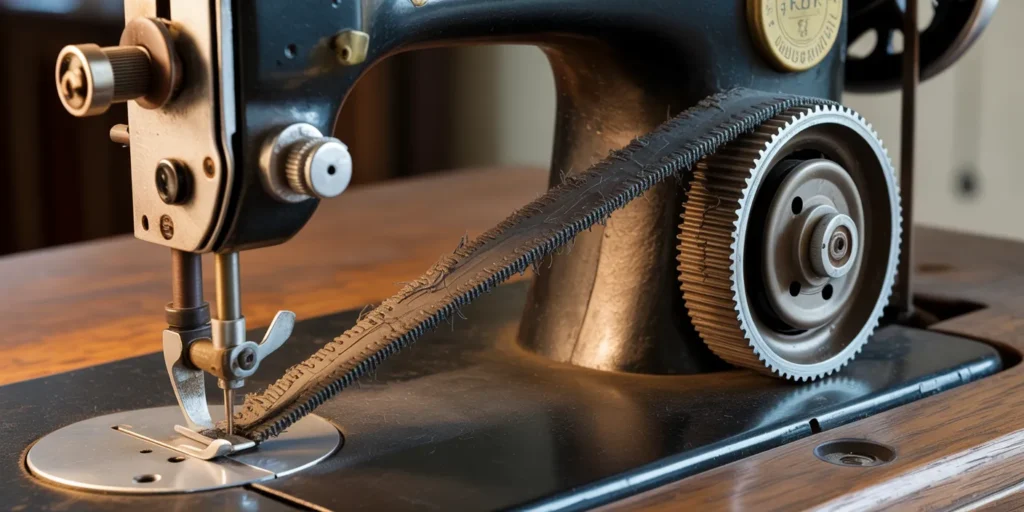
If cleaning and oiling provide no improvement, the issue moves from maintenance to mechanical repair.
- Worn Drive Belt: On older mechanical models, the drive belt connects the motor to the handwheel. If this belt is loose or cracked, the motor spins but the power transfer is inefficient, leading to slow speed.
- Internal Gear Jam: If you are unable to easily turn the handwheel manually, a stray thread or debris may be lodged in the internal gears. Do not force it. This may require a technician to inspect the timing and motor assemblies.
If you suspect a broken or worn part, learning how to safely replace the tension assembly in 8 easy steps may help you identify the faulty component.
Maintenance is Speed
A slow sewing machine is an under-maintained sewing machine. The most authoritative fix is a consistent maintenance schedule, ensuring the bobbin race is clean and all moving parts are properly oiled. By eliminating friction caused by lint, lack of oil, or thread jams, you restore your machine’s peak high speed stitching (SPM) and extend its lifespan.Need to tune up your machine? Use this guide alongside our Ultimate Guide to Sewing Machine Maintenance for a comprehensive service plan.