How To Sew Letters And Words With Your Sewing Machine
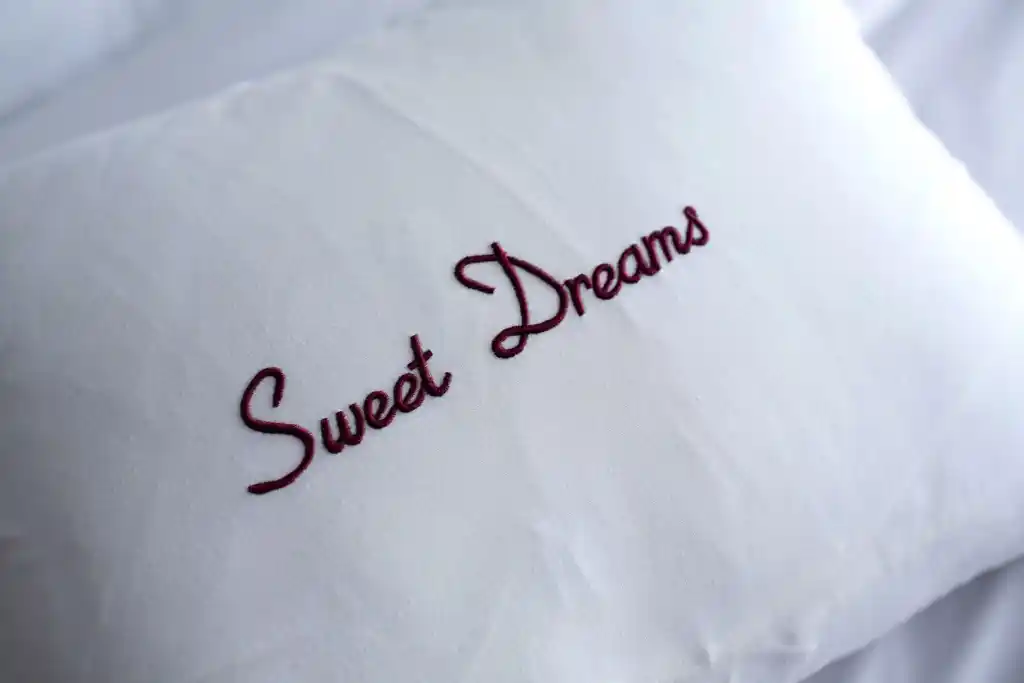
Have you ever wondered if you can use your regular sewing machine to embroider beautiful letters and words onto fabric? Many people think you need an expensive, specialized embroidery machine to stitch lettering designs.

But with the right supplies and techniques, you can embroider words on your sewing machine!
In this comprehensive guide, we’ll cover everything you need to know to embroider letters and words with a standard sewing machine. Whether you have a simple mechanical model or a computerized machine with fancy built-in stitches, you can create gorgeous embroidered designs.
With some practice using specialized free motion techniques, your home sewing machine can become an embroidery powerhouse. Read on to learn how to transform plain fabric into your own personalized, customized masterpieces!
Choosing Your Sewing Machine
The first step in machine embroidering is making sure you have a sewing machine that can get the job done. There are a few options that will work:
Mechanical Sewing Machine
Older mechanical sewing machines with simple straight stitch and zigzag abilities can embroider letters with the free motion technique. Models like the Singer 4423 Heavy Duty sewing machine or Brother CS6000i feature zigzag stitches perfect for stitching letter outlines.
While mechanical sewing machines don’t have built-in lettering stitches, their zigzag function allows the fabric to be moved freely to shape each letter. With practice guiding the movement, beautiful embroidered writing can be achieved.
Computerized Sewing Machine
More advanced computerized sewing machines open up many possibilities for embroidering words. Models like the Brother SE600 sewing machine or Singer Quantum Stylist 9960 include built-in fonts and lettering stitches for automatic embroidery.
Computerized machines also have features like an LCD screen to preview designs, and the ability to import new fonts and patterns. This makes it easy to select any font you want and let the machine do the stitching for you.
Both mechanical and computerized home sewing machines can produce gorgeous embroidered lettering. Select a model with features that fit your budget and sewing needs.
Preparing Your Sewing Machine
Once you’ve selected your sewing machine, there are a few adjustments required to set it up for embroidering:
Install a Specialty Foot
The regular presser foot on most sewing machines won’t provide enough visibility or fabric control for free motion stitching.
- A darning or embroidery foot like the Brother SE400 Embroidery Foot leaves the fabric surface open for better visibility.
- The Bernina Clear Embroidery Foot #39 also provides full visibility while preventing fabric slippage.
- A free motion foot like the presser foot that comes with the Singer Heavy Duty 4411 allows movement in all directions.
Change the Needle
The fine sharp point on standard sewing needles can bend or break when embroidering.
- Using an embroidery needle like Organ’s Titanium Embroidery Needles provides necessary strength and sharpness for embroidering.
Adjust Feed Dogs
The feed dogs on your machine help grip and advance the fabric as you sew regular seams. But for embroidering:
- You’ll want to lower or cover the feed dogs so the fabric can be moved freely in any direction. Check your manual for how to do this on your model.
Set Stitch Length and Width
- Adjust your stitch length to 1.5-2mm for embroidery. Longer stitches provide better coverage and a bolder look for letters.
- A zigzag width of 2-2.5mm works well for outlining letters with thick defined edges.
- Adjust tension so the bobbin thread doesn’t show on the top side of the fabric.
Transferring and Marking Designs
Before you can start stitching, you’ll need to transfer the letters or words onto the fabric. There are a few ways to accomplish this:
Printed Patterns and Templates
- Print out the words you want to embroider in a thick block style font. Avoid thin cursive or script fonts.
- Bold block lettering will embroider nicely and give defined edges to your letters.
- Trace the printed design onto the fabric using a washable marker or chalk pencil. This creates sewing lines to follow.
Temporary Adhesive Stabilizer
- Products like Sulky Sticky Fabri-Solvy have a sticky surface to adhere the stabilizer to fabric.
- Print your design onto the paper-backed stabilizer, cut it out, then iron it onto the fabric.
- The stabilizer will dissolve away after embroidering.
Fabric Marking Tools
- Use a washable marker like the Dritz Mark-B-Gone to draw the letters directly onto the fabric.
- Chalk pencils like the Dritz Chalkola Chalk Pencil mark fabrics without leaving permanent lines.
- Wash pens like the CLOVER Chacopy will disappear completely after washing.
Experiment to find the best method for transferring your designs. Tracing printed templates can provide the most accuracy.
Stitching Techniques
Once your design is transferred, it’s time to start stitching! There are a few techniques that will create beautiful embroidered letters.
Straight Stitch
- Select a straight stitch on your sewing machine. Adjust length to 2mm-2.5mm.
- Lower the feed dogs and select a free motion foot for best control.
- Move the fabric smoothly to trace the letter outlines you marked.
- Keep stitches close together so the letters appear solid.
- Straight stitch outlines produce clean, defined edges on letters.
Zigzag Stitch
- Engage the zigzag stitch function and adjust width to 2mm-2.5mm.
- Use an open toe embroidery foot to see the needle clearly.
- Carefully guide the fabric along the marked lines.
- Overlap zigzag stitches closely to fill in the letters solidly.
- Zigzag provides bolder, thicker coverage and texture on embroidered letters.
Tips for Nice Results
Follow these tips as you practice free motion sewing machine embroidery:
Use Tightly Woven Fabric
- Fabrics like poplin, broadcloth, and twill hold stitches well and prevent distortion of letters.
- Avoid loose weaves like burlap or gauze that have too much give.
Hoop the Fabric
- Embroidery hoops like the Singer Classic Metal Hoops keep the fabric taut and prevent puckering of letters.
- Rotary quilting hoops like the Clover Q-Clip also provide stability for embroidery.
Add Iron-on Stabilizer
- Iron lightweight stabilizer like Vilene S320 onto the back of the fabric before hooping.
- The stabilizer prevents the embroidery from puckering or distorting.
Check Thread Tension
- Embroidering requires slightly looser tension than regular sewing.
- Make sure the bobbin thread doesn’t show on the top side of the stitching.
- Adjust the upper thread tension as needed for smooth stitching.
Take Your Time
- Move the fabric slowly and steadily for the best results.
- Stitching too fast can produce uneven, crooked letters.
Start With Block Lettering
- Avoid intricate script or cursive writing when you’re starting out.
- Simple block print lettering is easier to master.
With some practice on scrap fabric, you’ll be ready to stitch beautiful embroidered words! Here is a video tutorial on how to sew words using a sewing machine.
Sample Designs
Here are some examples of fun words and letters you can embroider with a standard sewing machine:
![[Photo of embroidered "Hello" on a kitchen towel]](https://mashupfabric.com/wp-content/uploads/2023/08/7xm.xyz946849.webp)
Embroider a greeting on towels and napkins to add personality to your kitchen textiles.

Personalize clothing with custom initials or names using fun variegated threads.
The possibilities are endless when you use your sewing machine for embroidered lettering! With the right stabilizers and techniques, you can create gorgeous results.
Conclusion
As you can see, achieving professional embroidered lettering is possible using just your standard home sewing machine. While it does require learning specialized skills like free motion stitching, the ability to customize projects with beautiful words and letters makes it worthwhile.
The key is having the right sewing machine capabilities, tools, supplies, and techniques. But with some practice on scrap fabric to hone your skills, you’ll be amazed at the stunning embroidered designs you can create.
So gather your sewing machine, hoops, needles, thread, stabilizers, and marking tools. Then print out your favorite sayings, inspirational quotes, names, monograms, or any words you’d like to embroider. With this comprehensive guide, you now have all the information you need to stitch gorgeous machine embroidery lettering on any project imaginable.
