
How To Fix Loose Stitches On Your Sewing Machine

If you are experiencing loopy stitches on the top or bottom of your fabric, your machine is screaming at you that its thread tension is unbalanced. As a rule, you should never touch the tension dials until you have completed the first and most critical step.
1.Thoroughly Re-thread the Machine (90% Success Rate)
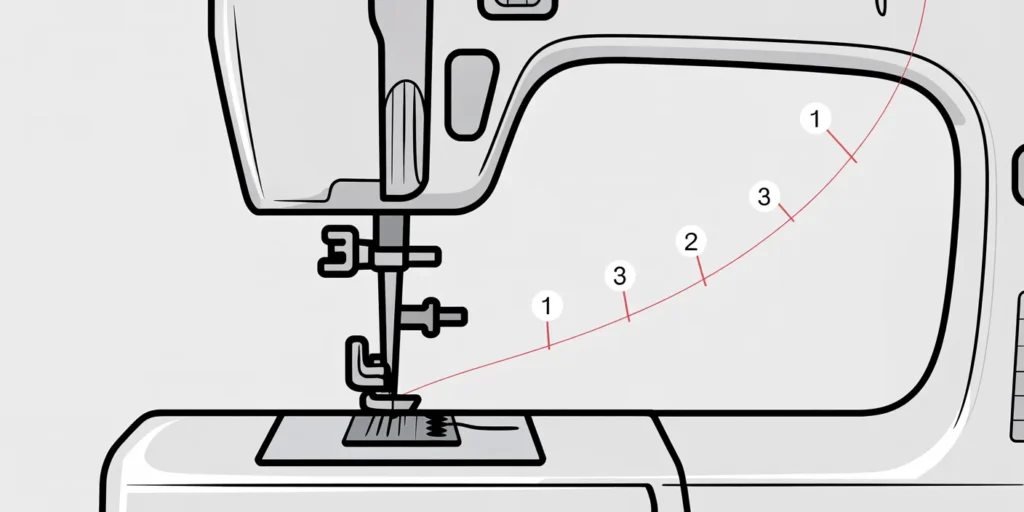
Before you touch a single tension dial, the only true fix for most stitch issues is a complete and meticulous re-thread. If the upper thread skips even one guide or tension disc, the machine cannot apply proper tension, resulting in a loose thread loop (often called “birdnesting”) on the bottom of your fabric.
The Non-Negotiable Steps:
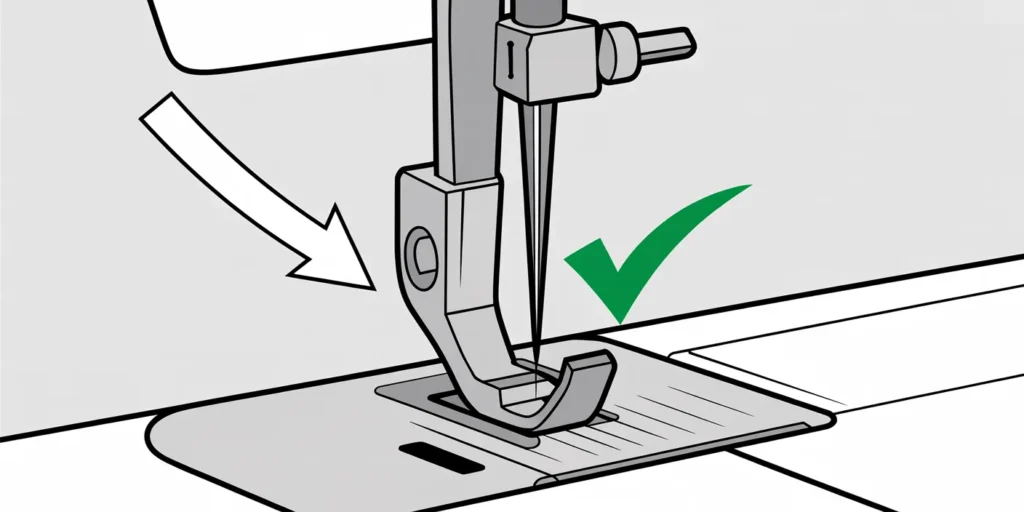
- Needle Up, Foot Up: Always raise the Presser Foot and the Needle to their highest position before you begin threading. Raising the foot opens the Tension Discs, allowing the thread to properly seat inside them. Missing this step is the single most common cause of loose stitches.
- Check the Take-up Lever: Ensure the thread is securely looped through the Take-up Lever (the piece that moves up and down). If the thread slips out, tension is instantly lost.
- Inspect the Thread Path: Check for fraying thread or thread caught in the spool cap. Poor quality thread will snag and cause problems—invest in a quality 100% polyester or cotton thread from a trusted brand.
If re-threading does not solve your problem, the issue is mechanical, not user error. Continue to step 2.
If you are struggling with a persistent issue on a specific model, see our guide on fixing common stitching problems on Singer sewing machines.
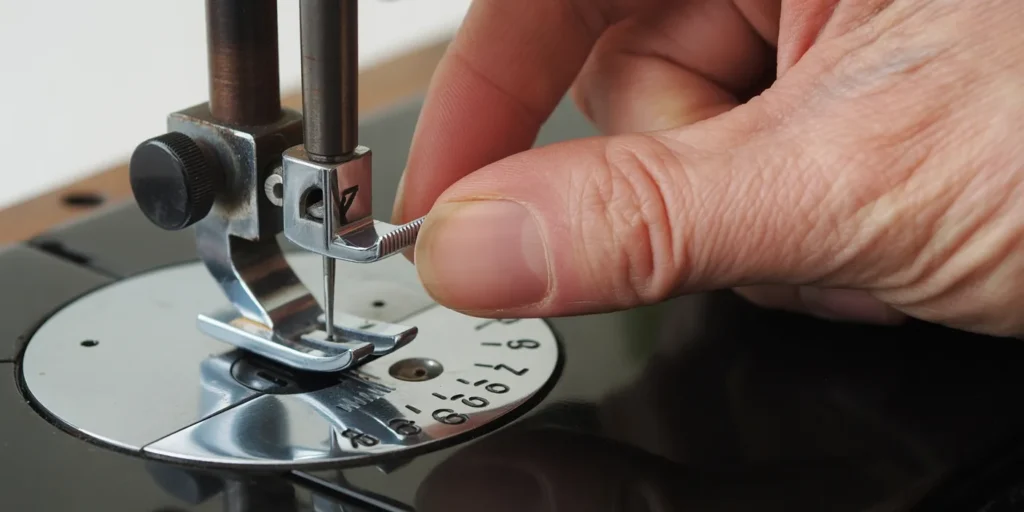
2. Mastering Thread Tension Management (Dial Adjustments)
Tension refers to how the upper and lower threads interlock precisely within the middle of the fabric layers. The stitches should look identical on both sides (a balanced stitch) when viewed with a magnifying glass.
| Symptom | Problem | Expert Solution |
| Top thread loops visible on the bottom | Top thread tension is TOO LOOSE (The top thread is easily being pulled down by the bobbin thread). | Increase the Top Tension Dial (Higher Number). |
| Bottom thread visible on the top | Top thread tension is TOO TIGHT (The top thread is pulling the bobbin thread up through the fabric). | Decrease the Top Tension Dial (Lower Number). |
Pro Tip for Adjustments: Never adjust the main tension dial more than 1-2 increments at a time. After each adjustment, test the stitch on a small scrap of your final fabric. Making drastic turns can throw your machine’s entire tension assembly out of alignment, requiring professional service.
If you suspect your primary tension mechanism is damaged or needs deep cleaning, follow our guide on how to replace a tension assembly in 8 easy steps.
3. The Bobbin System: The Forgotten Factor
The bobbin tension controls the pull from the bottom, and poor bobbin management is a leading cause of unbalanced stitches.

Bobbin Winding & Insertion
- Winding Quality: Make sure your bobbins are wound evenly and smoothly. An unevenly wound bobbin creates inconsistent thread delivery, which will immediately translate to loopy stitches.
- Correct Orientation: Verify the bobbin thread is pulled through the tension spring or guide on the bobbin case in the correct direction (usually clockwise or counter-clockwise, depending on the model).
Lint Removal & Maintenance
Excess lint, particularly in the bobbin race (hook) area, can impede the rotation of the bobbin or jam the thread path.
- Action: Regularly remove the bobbin case, needle plate, and use the included brush to clear away all lint and debris.
- Preventative Care: For long-term health and smooth operation, refer to your step-by-step guide on how to correctly oil your sewing machine after a thorough cleaning.
4. Needle Condition and Type
A faulty needle can cause skipped stitches that look like loose stitches, or create weak holes that affect tension balance.
- Match Needle to Fabric: Always match your needle size to the thickness of your material. For heavy fabrics like denim, use a 90/14 or 100/16 needle.
- Replacement Frequency (Experience): Replace needles frequently, ideally every 8 hours of sewing time, or after every major project. A dull point is the enemy of smooth sewing.
A dull needle can also make your machine work harder. If you find your sewing machine is running slow, check the needle and lubrication first.
Conclusion: Achieving the Perfect Stitch
Fixing loose stitches requires a methodical approach, starting with the simplest cause (threading) and progressing to the most complex (bobbin tension screw). By applying these expert troubleshooting steps, you demonstrate Expertise and will quickly find the sweet spot for your machine’s Tension Assembly. This consistent maintenance is the foundation of quality sewing.