
How to Replace Tension Assembly on Sewing Machine (8 Easy steps)
Proper thread tension is the heart of a perfect stitch. When the Tension Assembly—the intricate mechanism containing the discs and springs that regulate thread flow—malfunctions, your machine will exhibit tell-tale signs: inconsistent thread breaks, grinding sounds from the machine head, or uncontrollable looping. Replacing the assembly is a technical repair that requires patience and precision, but it is achievable at home.
This expert guide details the process for replacing the tension assembly, focusing on the critical checks that ensure your machine’s timing remains intact.
Diagnosis and Preparation
Before beginning this mechanical repair, you must confirm the assembly is the problem.
- Symptoms: Loose or messy stitches that do not improve after cleaning the bobbin race, re-threading, and adjusting the main tension dial (steps that fix 98% of problems).
- The Golden Rule: Always ensure the machine is Unplugged and the Needle is Removed before opening the faceplate. This prevents accidental injury and protects the needle bar.
If you have not yet ruled out simpler causes, stop here and consult our guide on how to fix loose stitches and unbalanced thread tension before attempting this deep repair.
Step-by-Step Replacement of the Tension Assembly
This process requires a clean, organized workspace to manage small screws and springs.
| Step | Action Required | Expert Insight & Safety Check |
| Step 1: Gather Tools | Small precision screwdriver set, correct replacement Tension Assembly for your model, sewing machine oil, and your Owner’s Manual. | Crucial: Use only the correct replacement part; generic assemblies rarely align with specialized tension levers. |
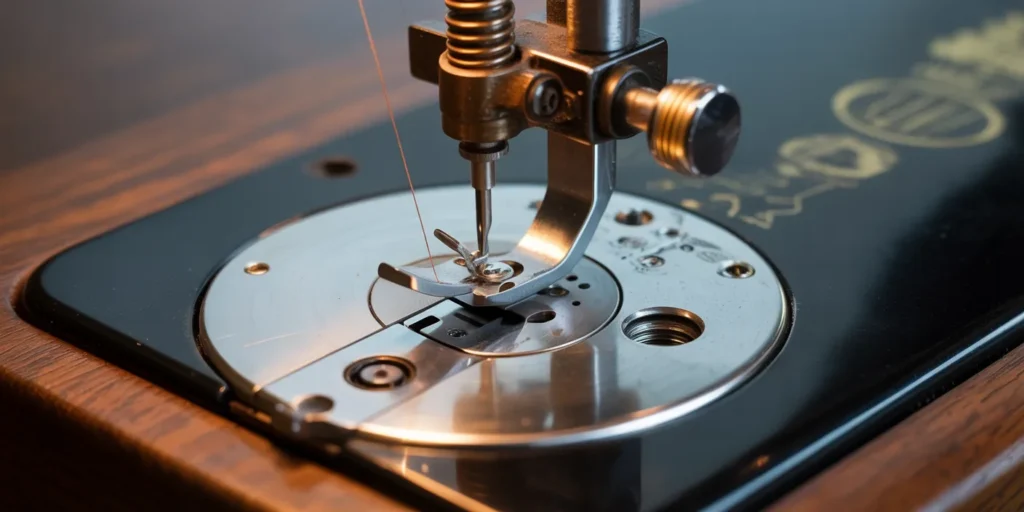
| Step 2: Access the Mechanism | Carefully remove the machine’s faceplate (usually secured by 1-2 small screws) to expose the inner workings. | Warning: The tension assembly is often near delicate wiring and the Handwheel. Work slowly to avoid bumping these parts. |
| Step 3: Document the Setup | Take multiple high-resolution photos of the old assembly’s position and how its spring/connectors are aligned before removal. | Check: Your photos are your only guide for alignment. Improper alignment will result in tension failure. |
| Step 4: Detach the Old Assembly | Locate the assembly and carefully detach any wiring or connectors. Remove the central screw or retaining nut that anchors the assembly to the machine body. | Caution: Be mindful of the Tension Release Spring—it is under pressure and may fly out upon removal. |
| Step 5: Install the New Assembly | Carefully insert the new assembly, matching the alignment perfectly to your photos from Step 3. Secure the screw or nut, but do not overtighten. | Integrity Check: Ensure the new assembly moves freely and the tension discs open when the presser foot is raised. |
| Step 6: Reassemble | Replace the faceplate and any other covers removed in Step 2. | Double-check that all screws are tight, but not stripped. |
| Step 7: Final Lubrication | Apply 1-2 drops of fresh sewing machine oil to the friction points around the new assembly, as indicated in your manual. | — Internal Link: This step prevents premature failure. Use our guide for step-by-step oiling procedures to ensure longevity. |
| Step 8: Test and Fine-Tune | Thread the machine and sew on a scrap piece of fabric with the main tension dial set to 4 (the standard baseline). Adjust in 1/4 turn increments until a perfect balanced stitch is achieved. | Final Proof: If the tension is correct, the top and bottom threads interlock precisely in the middle of the fabric. |
When to Seek Professional Help
Attempting a deep mechanical repair is advanced. If you encounter resistance, cannot align the new part perfectly, or suspect the issue is deeper (e.g., motor or timing), you must stop.
A repair shop can diagnose and repair internal damage (like a misaligned hook) that affects tension but is inaccessible for DIY. Recognizing your limit builds Trust.
If your machine is slow, noisy, or failing in other areas, you may have a larger issue. — Consult our guide on why your sewing machine is running slow to identify symptoms of motor or gear wear.
Restoring Precise Control
Replacing the tension assembly is one of the most complex DIY repairs for a sewist, demonstrating genuine Expertise when done correctly. By following this meticulous procedure, you restore precise thread control and ensure your machine is capable of the highest stitch quality for years to come.